Road Processing
Open the Scenes
- Drag the .sqlite files onto GCD.
- Add a 2nd params file 'gcv2_360/add_road_params.json
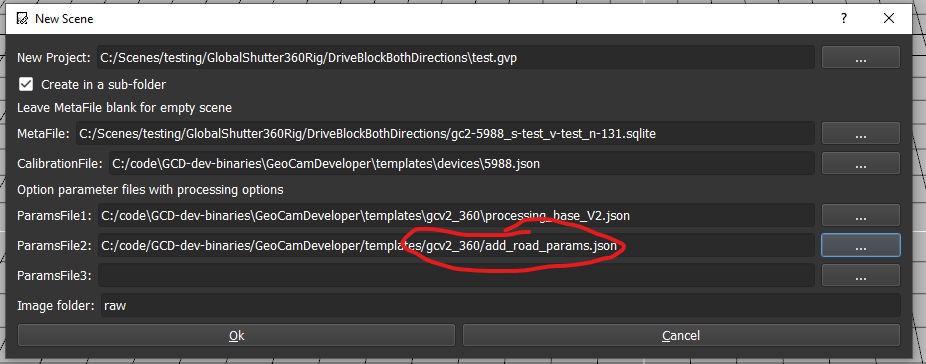
- Click Ok. On the next 'Scene Params' dialog with defaults
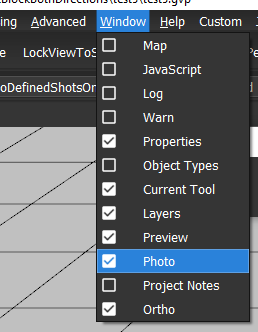
Mask the vehicle
- Ensure the 'Photo' window is visible
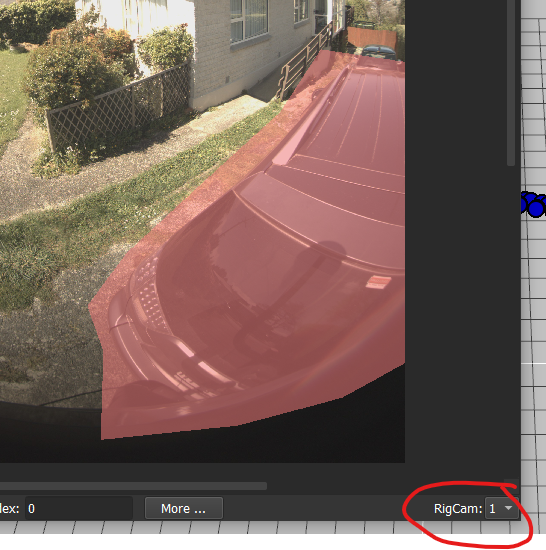
- Create mask for current shot
Then use Control-Drag to start adding polygon to the mask selection. Control-Double-click to finish polygon. Use Shift-Drag to subtract from the selection.
- Apply mask to all shots
- Select all shots. "Edit→Select All" (Control-A)
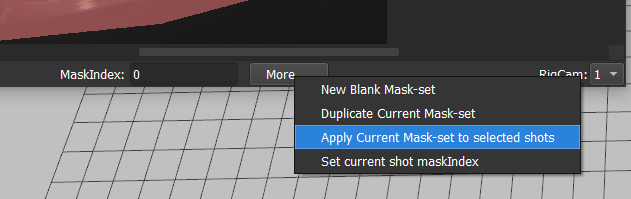
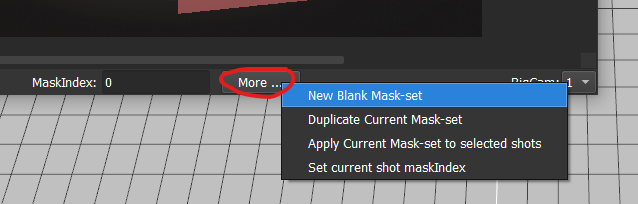
Then 'More→Apply Current Mask-set to selected shots'
- Check mask in other shot. Use up/down arrow keys to cycle through other shots (or click on other shots in the main window). Ensure the masks are still covering the vehicle. You can further edit the masks. Any edits will apply to all shots that share the same mask-set (with the same maskIndex).
- If the vehicle has moved significantly in the image, then you can create another mask-set, with 'More→New Blank Mask-set' or 'More→Duplicate Current Mask-set'. And edit the mask-set for that shot. Then select a shot range with the vehicle in that position - and 'More→Set current shot maskIndex'. Or you can have more manual control of the maskIndex for a selection of shots with the 'Edit→Set selected shots maskIndex' menu. Note: maskIndex values start from 0, and use -1 to remove the mask-set. The maskIndex of the current shot can be seen at the bottom of the 'Photo' window.
Run processing
- 'Processing→Process Shots'
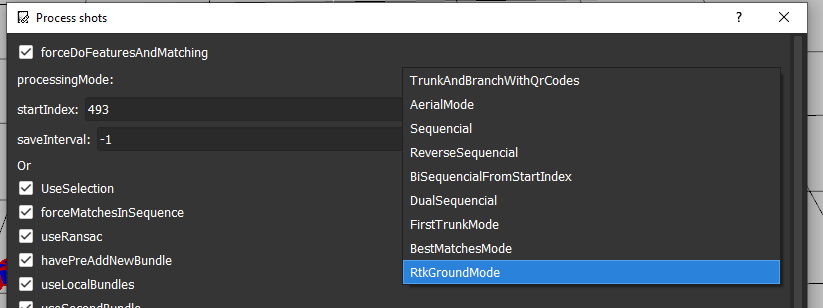
Choose processingMode: RtkGroundMode
Ok